Appearance
Quick Guide - Build the Investigation
The investigation object is essential for Blueback Investigator data analysis. The data subject for data analysis is compiled in the investigation prior to plotting. The investigation can be built in several ways:
Build the investigation manually
Build the investigation from data displayed in a Petrel window
Build the investigation using the spatial selector (for seismic investigations)
Manual creation
To insert a new Investigation manually, go to the Petrel Object button and select “New Blueback Investigation” from the drop-down menu.
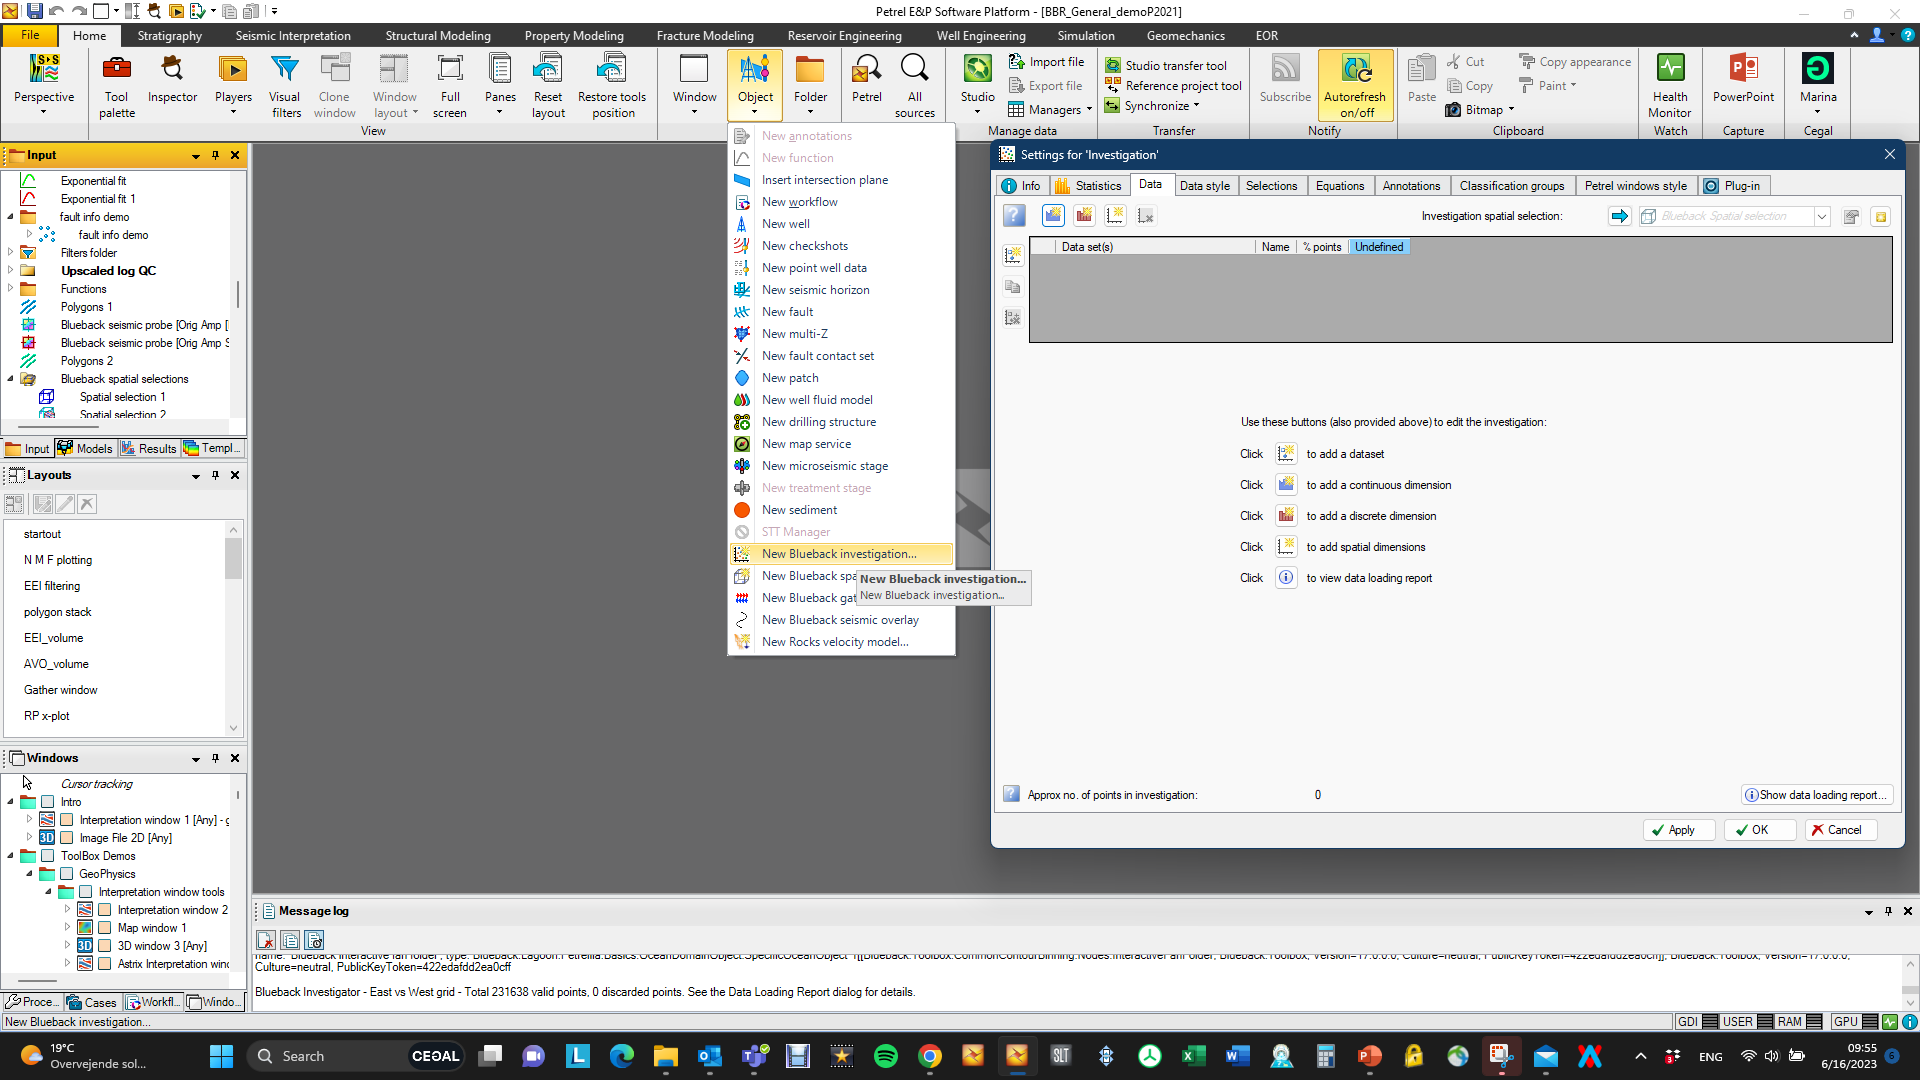
A new investigation object is generated in the Blueback Investigations folder in the input pane. The investigation menu opens up automatically in the Data tab

The investigation panel is opened in the Data tab ready to fill in the data for analysis.
Hit the “Add data set”  button in the left-hand side of the menu then select the data type, e.g. Well logs.
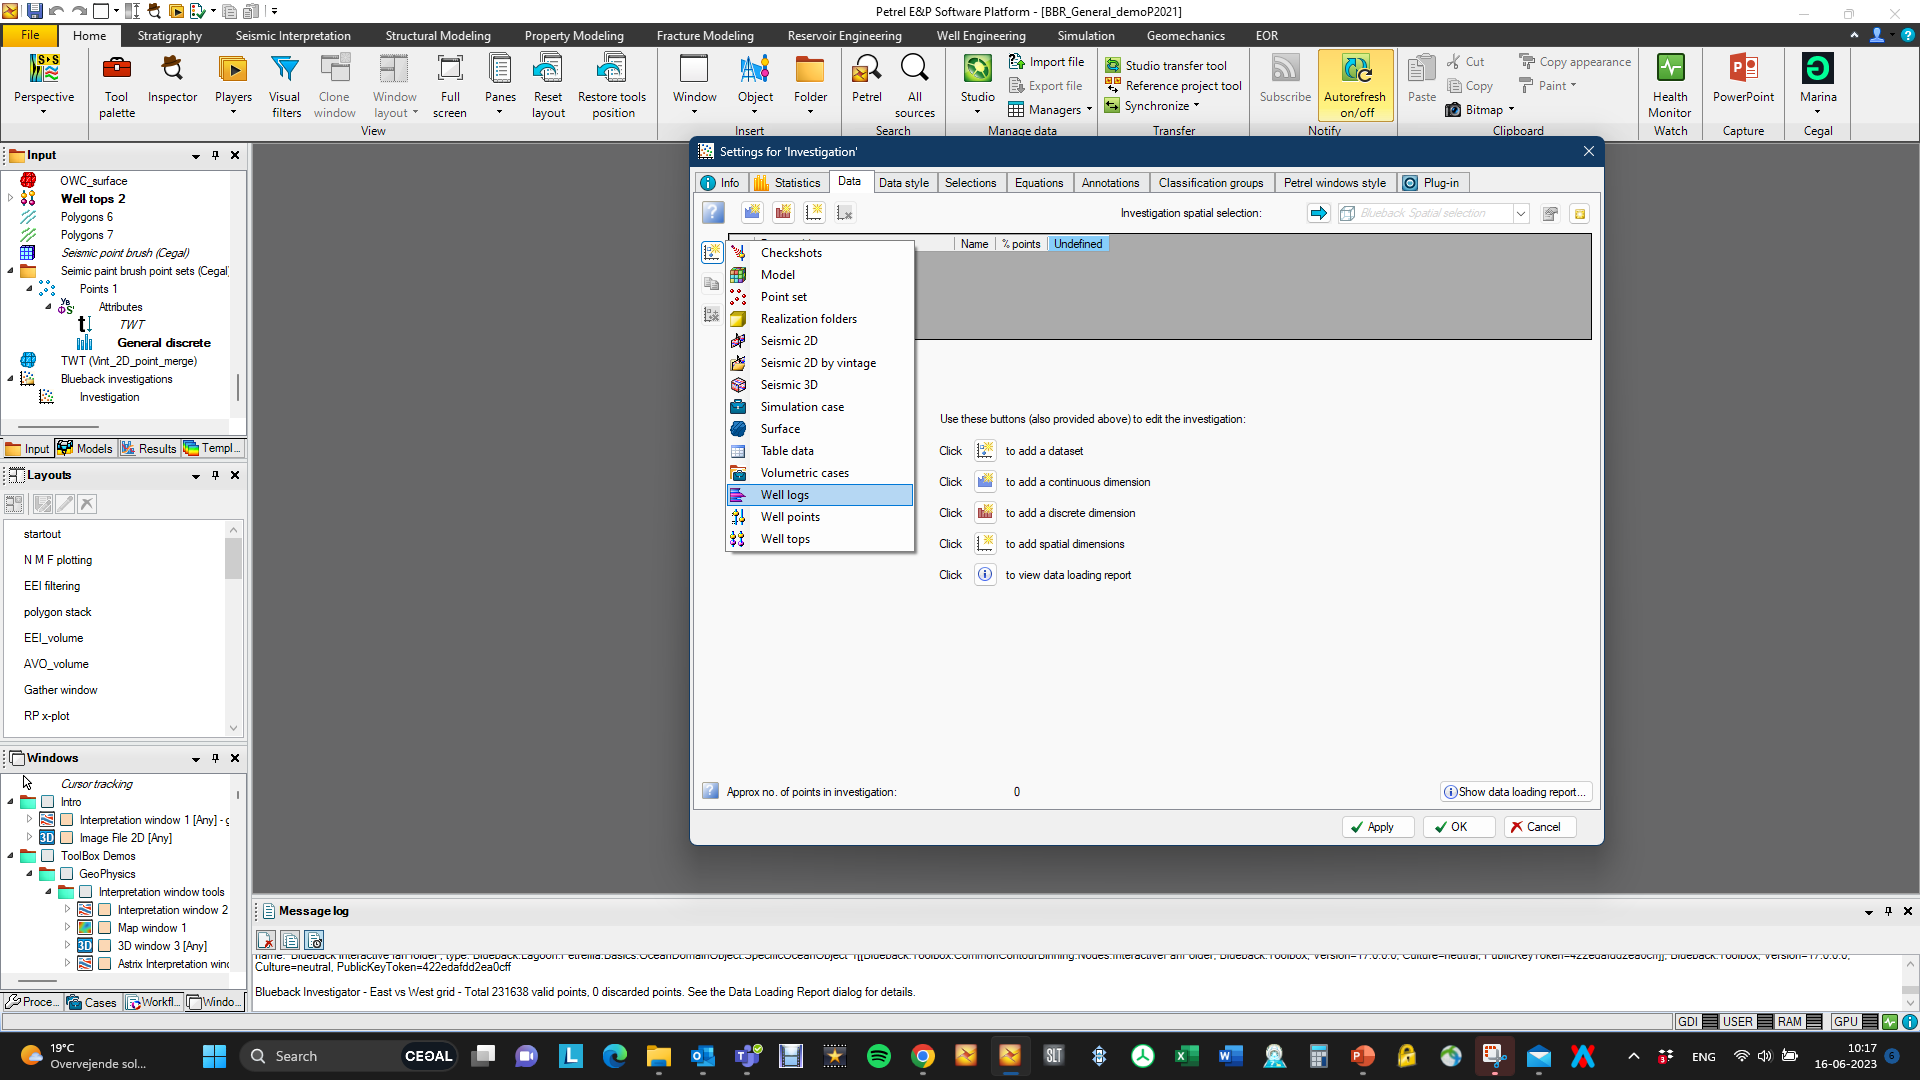
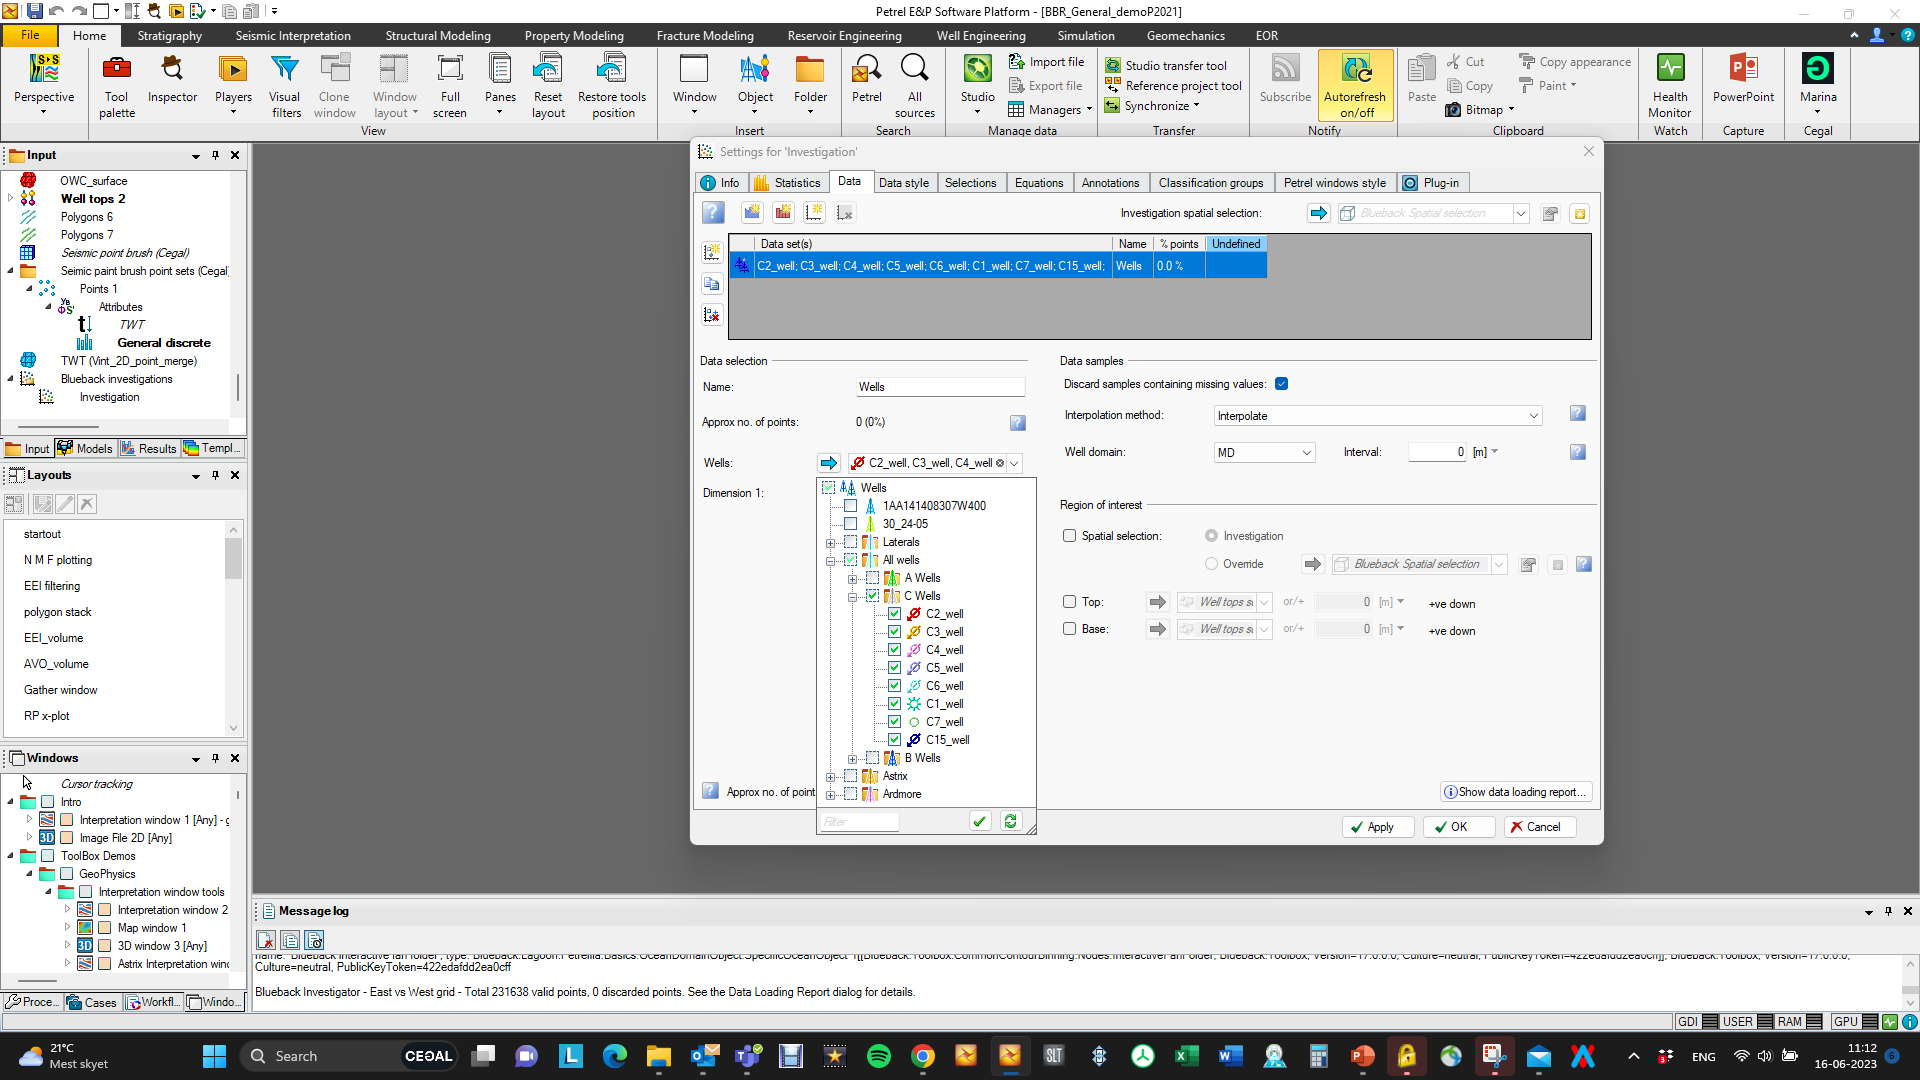
For well logs, the next input is the wells to be analyzed. Use the wells input drop down to select the wells

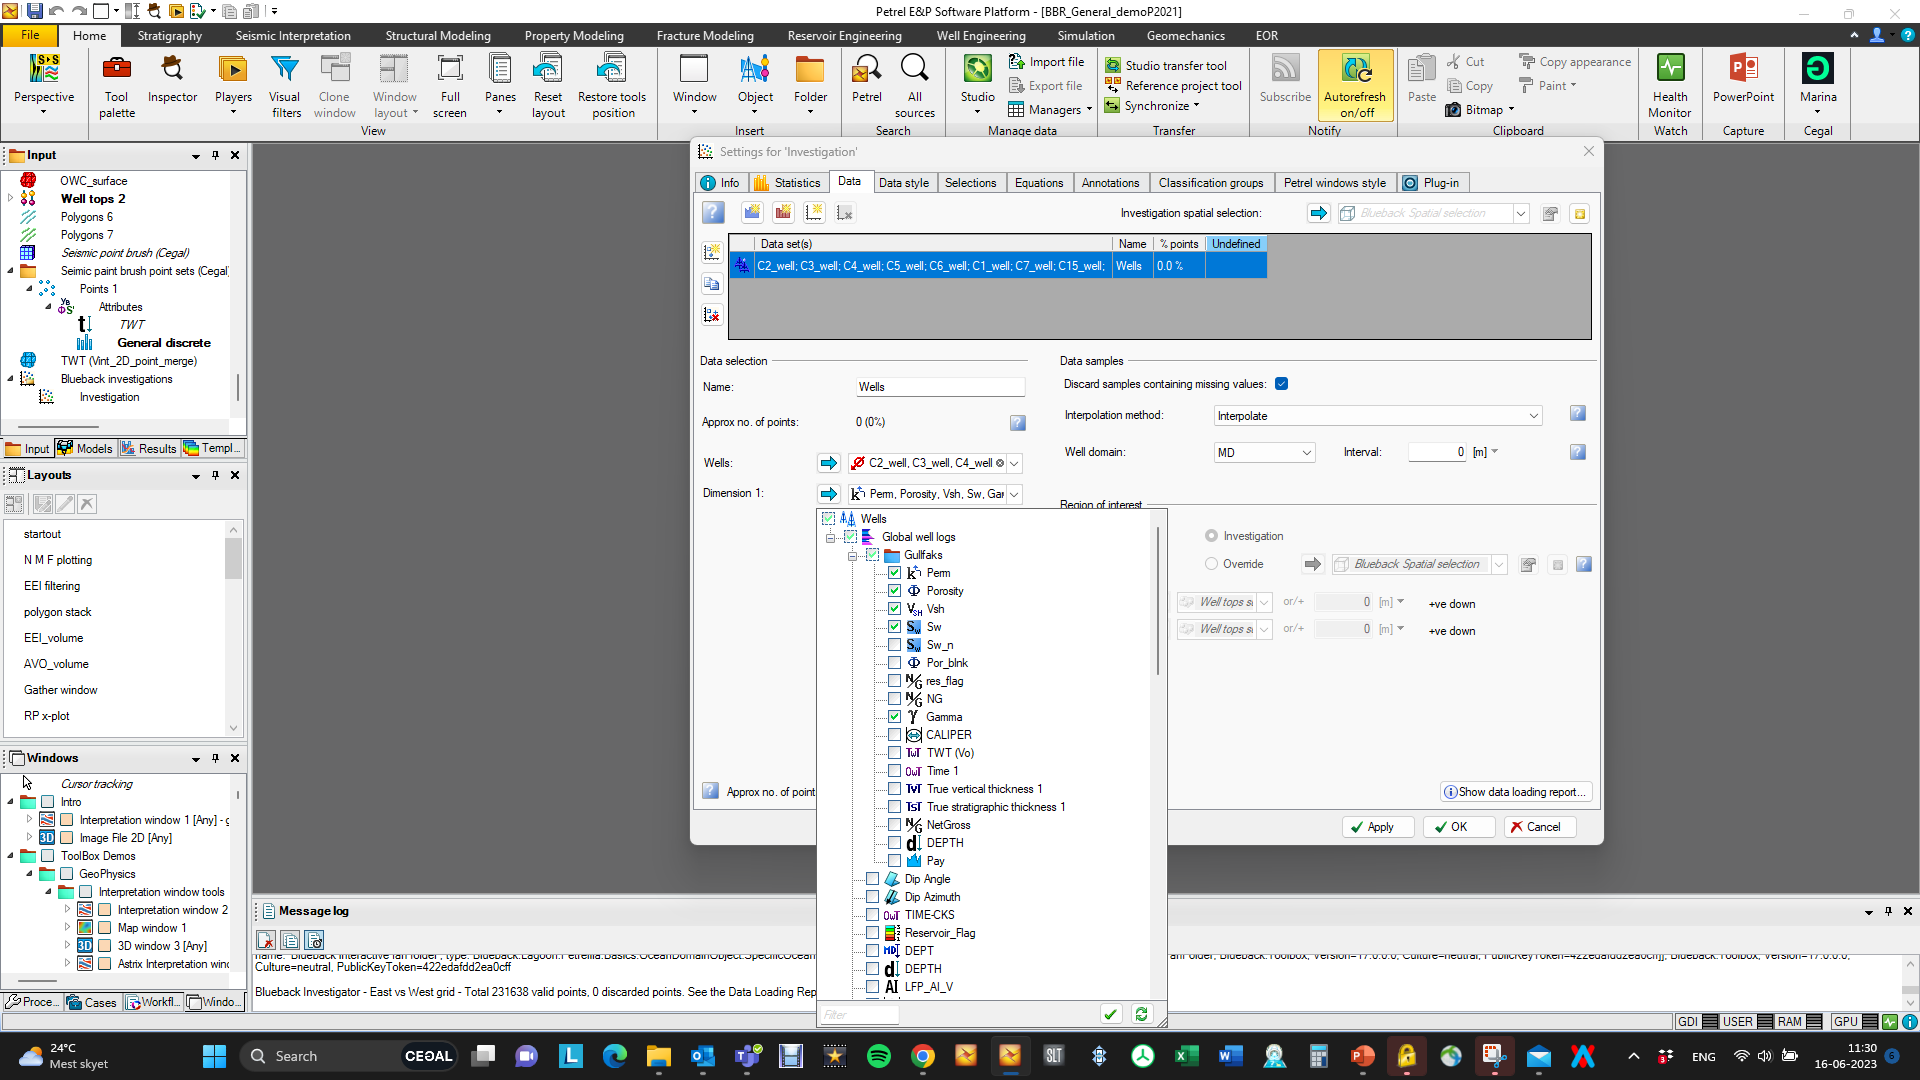
Now the variables for analysis should be defined. Variables are called dimensions in the Blueback Investigator. One continuous dimensions input selection box is ready for input. Use the drop down to select all continuous dimensions to be analyzed, e.g. porosity, permeability etc.
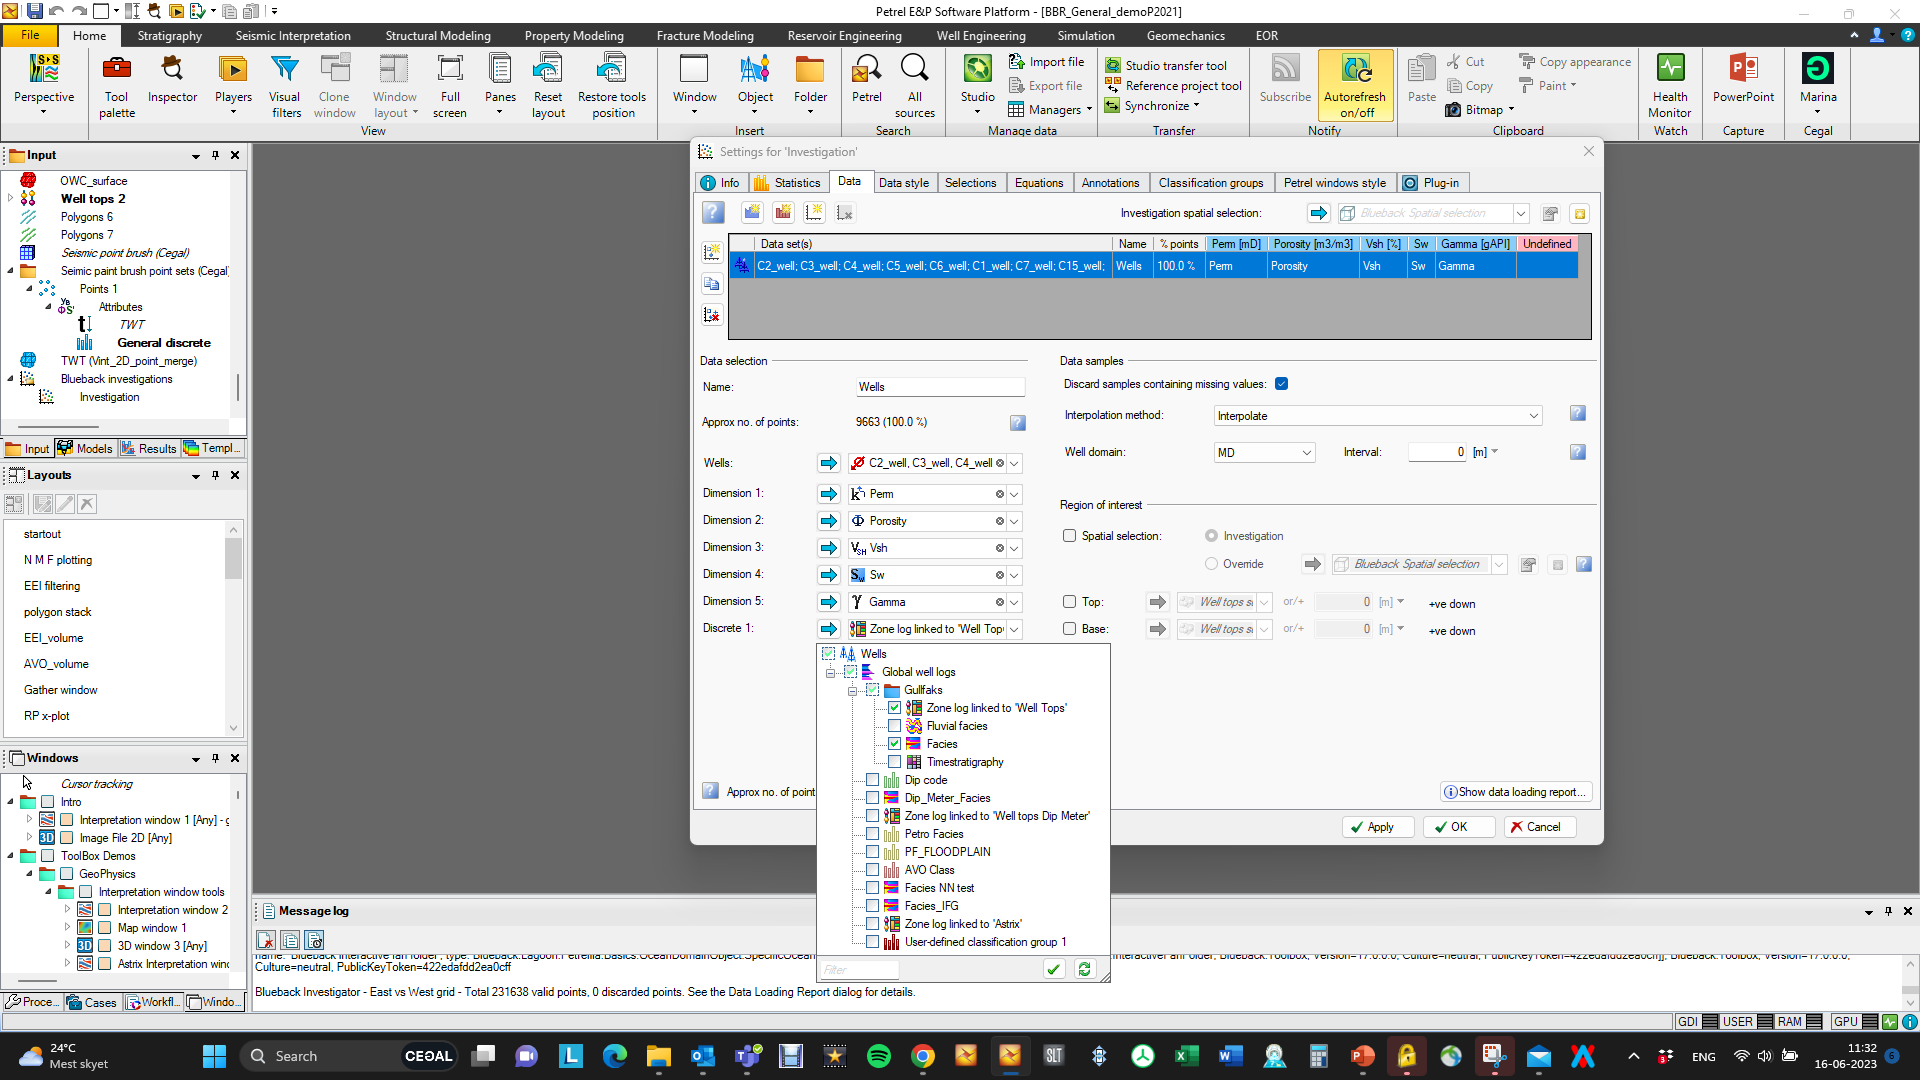
Use the “Add discrete dimension” button  to add a discrete dimensions input selection box, and use the drop down to add discrete variables, e.g. facies log, zone log etc.
To be able to cross post the investigation to regular Petrel windows (2D, 3D, WSW etc.) the investigation points need to have spatial information, so spatial dimensions (X – Y – depth or time) must be added.
Use the “Add spatial dimensions” button  to add X, Y and depth (for wells) dimensions.
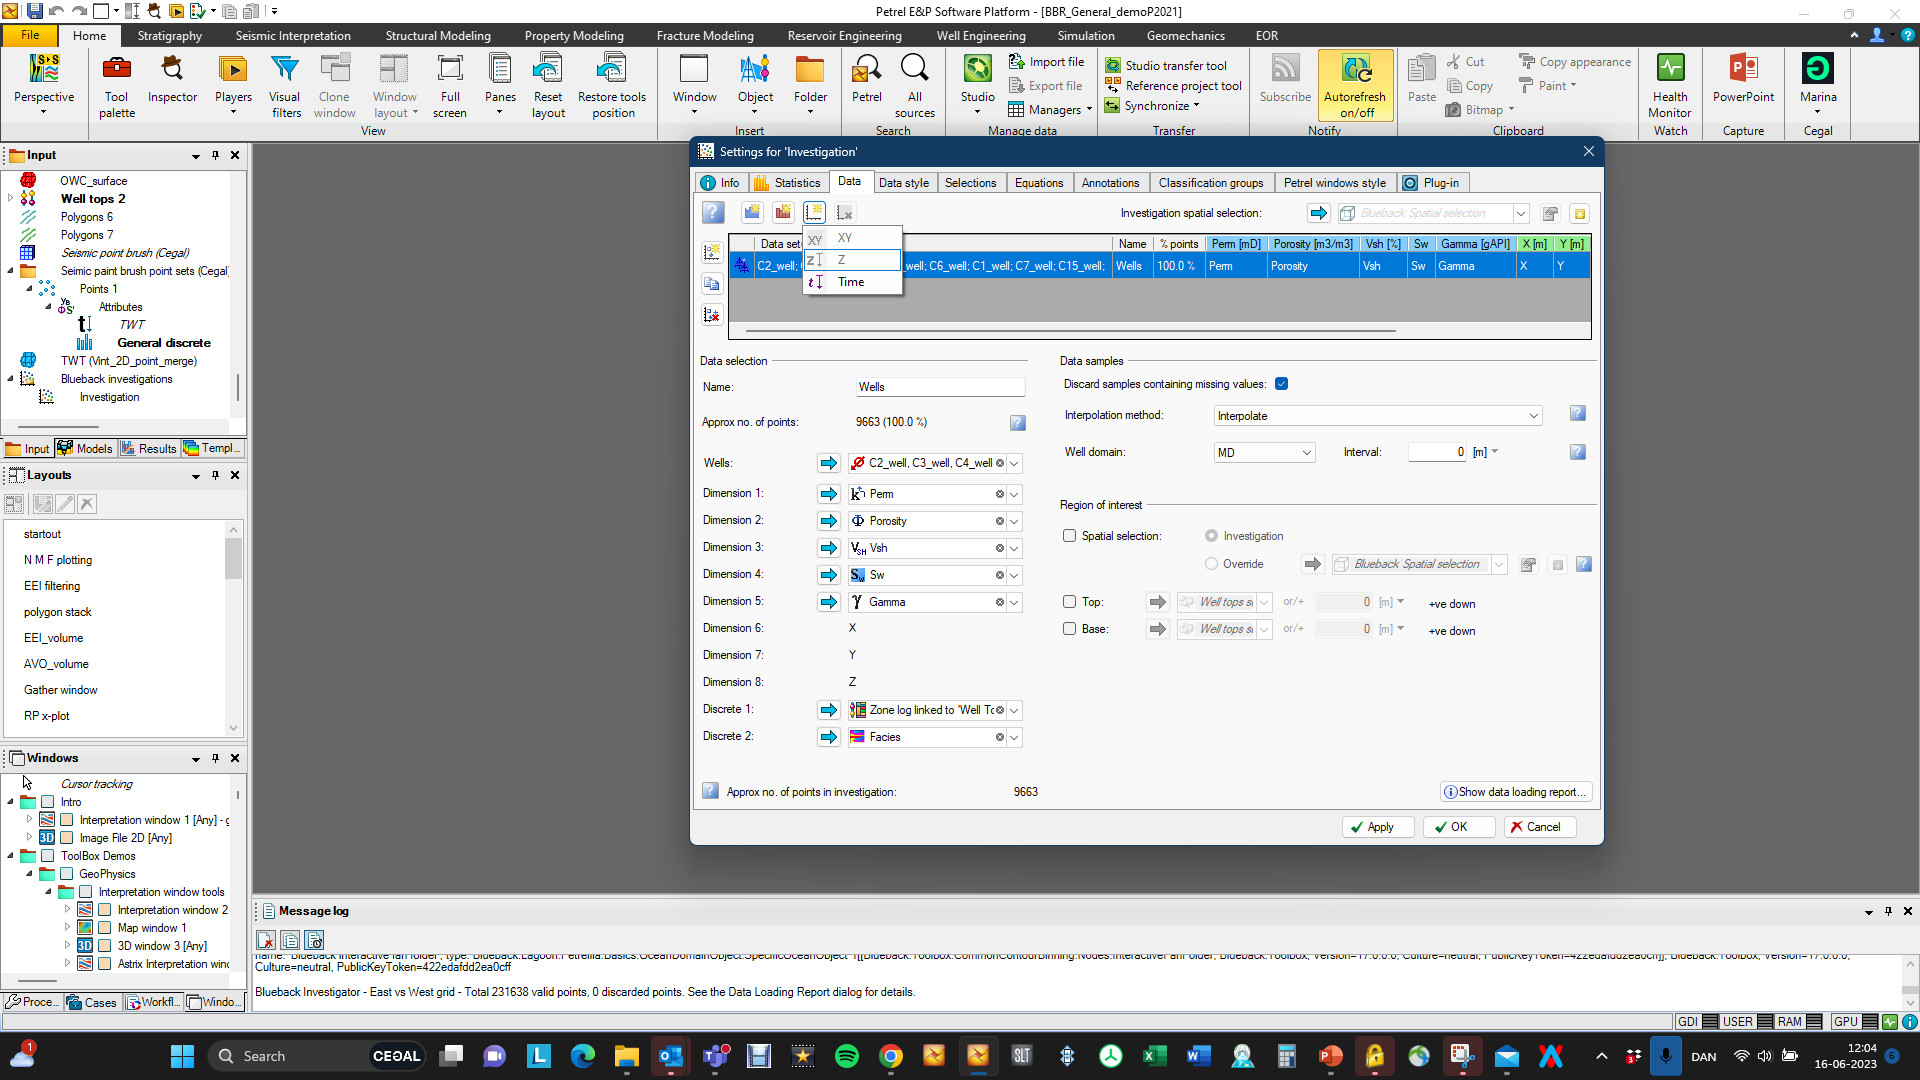
Go to the “info” tab and give the investigation a name, click OK and the investigation is ready to be displayed in the plotting windows. Additional data sets and variables can be added to the investigation if needed
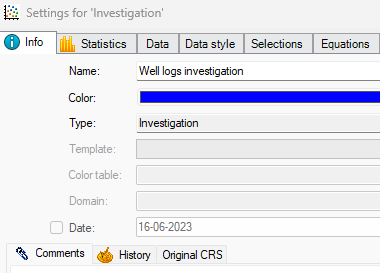

Various settings in the data selection menu is described here
Create from displayed data
The investigation can also be built by displaying the data for analysis in a Petrel window and building the investigation from here. Display e.g. wells and logs together with a 3D model property in a 3D window.
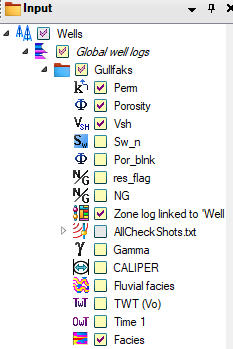
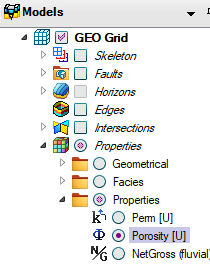
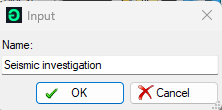
Activate the Petrel 3D window tab and hit “Create Blueback investigation” button in the ribbons menu and select ”Create Blueback investigation” Give the investigation a name when prompted and hit OK
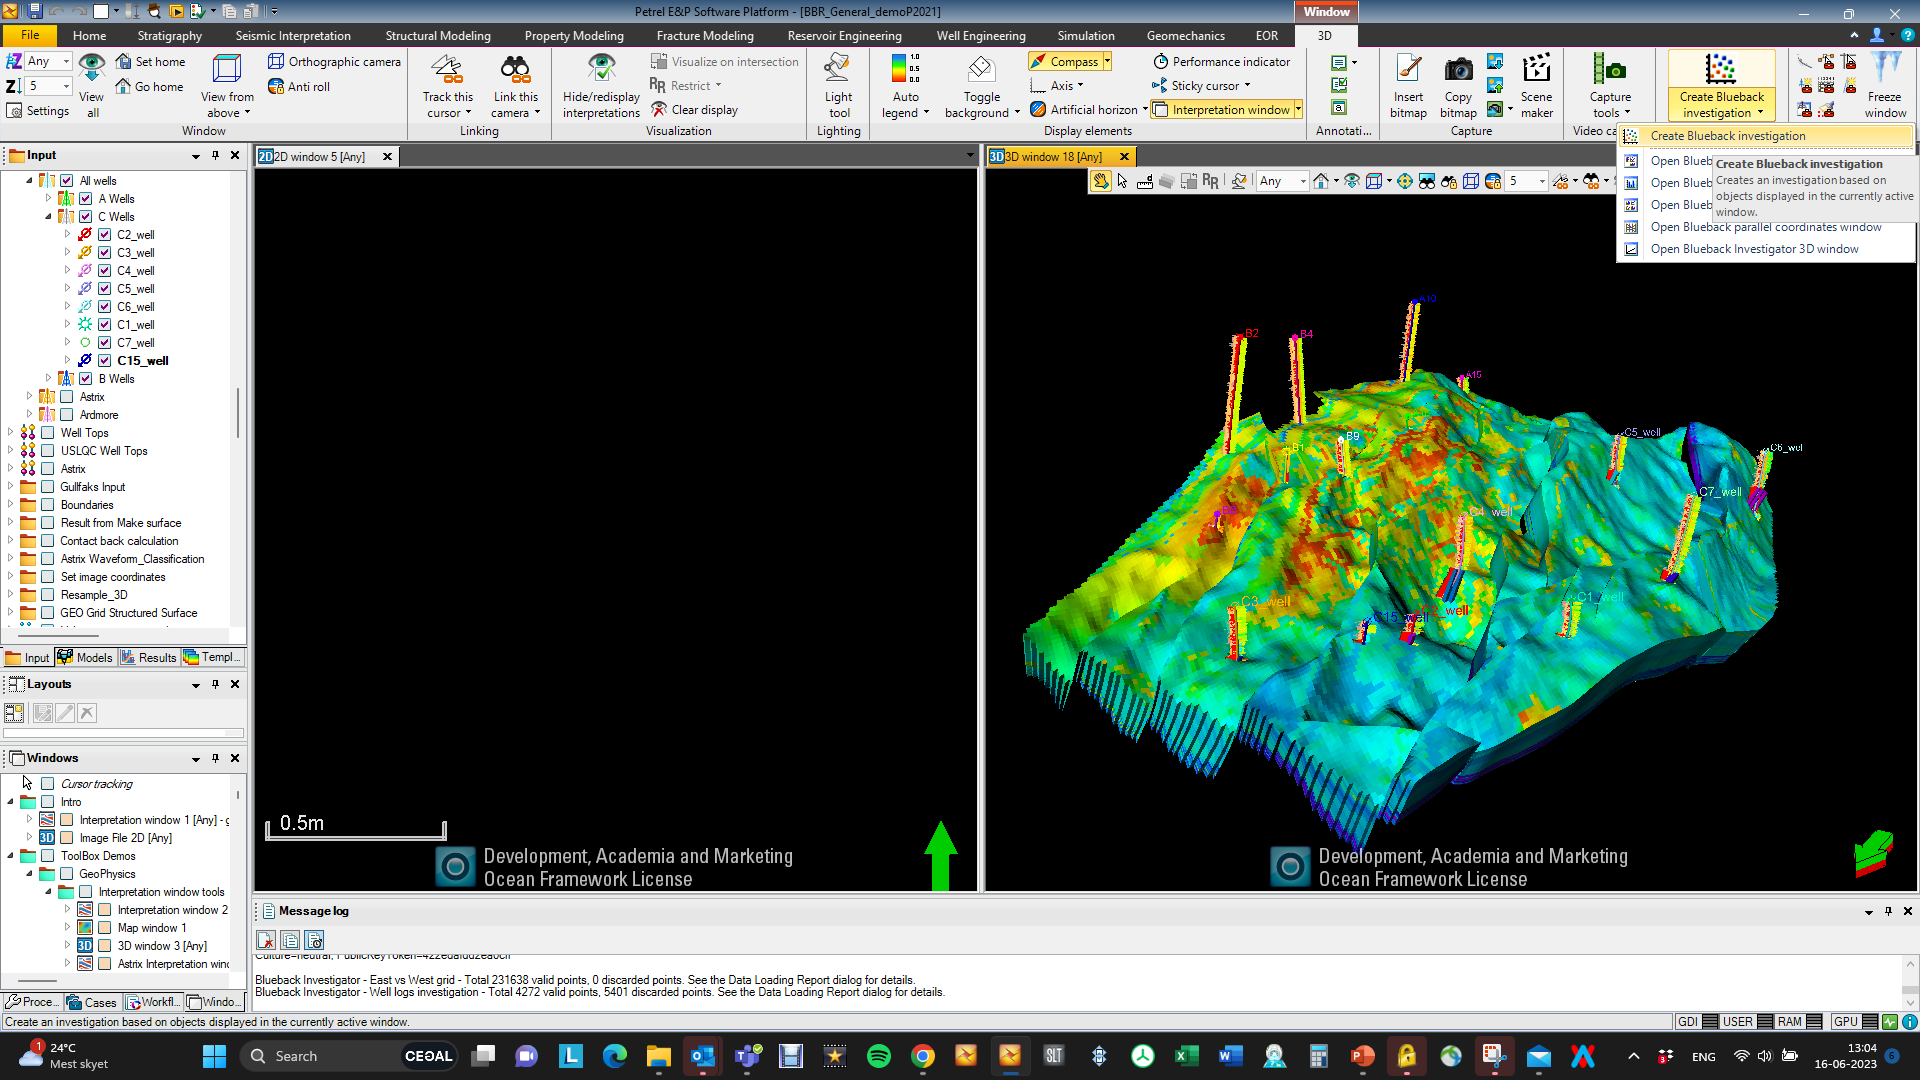
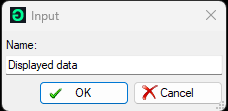
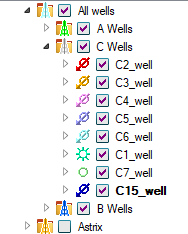
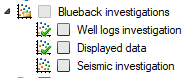
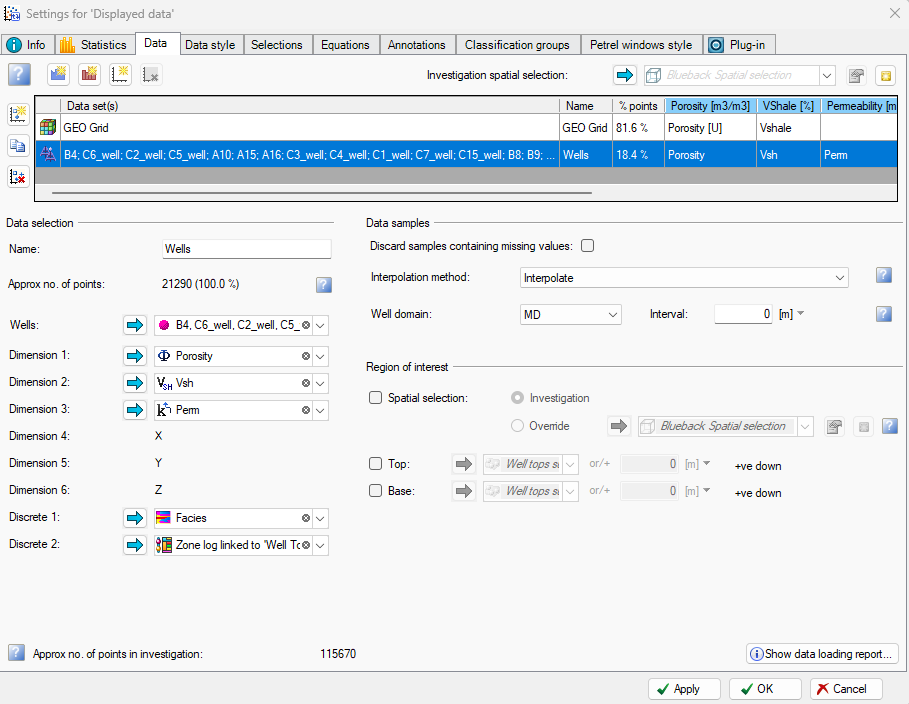
The investigation object is created in the Investigations folder and the investigation panel opens, where two data sets are added, the well logs and the 3D grid.
The investigation object displays the refresh icon  That means, that the investigation is incomplete or that it needs a refresh.
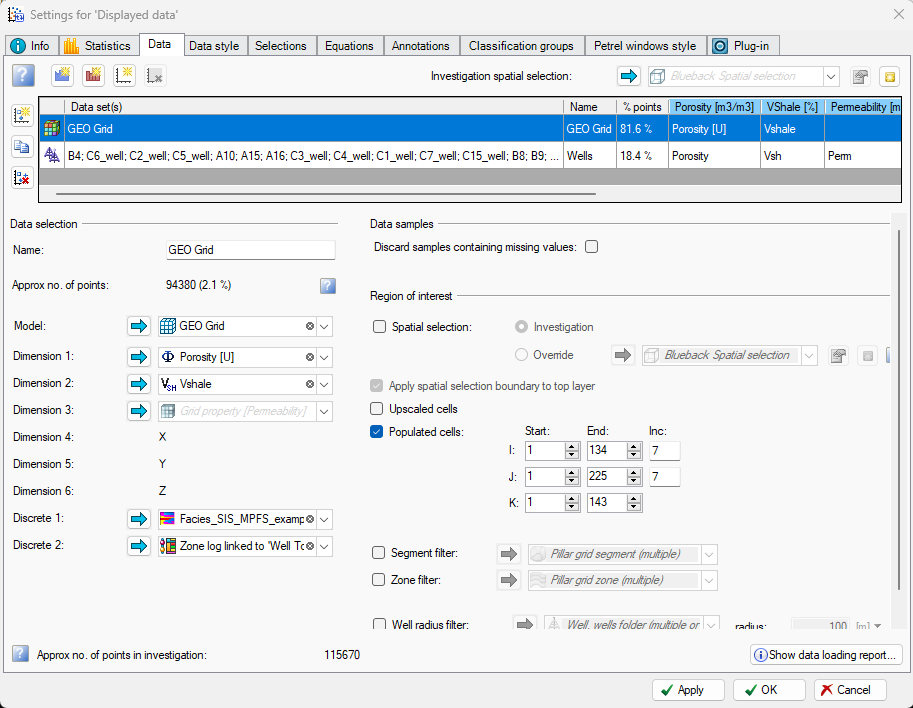
When opening the 3D grid data selection (click on the grid entry) the continuous dimensions are not all filled in, see dimensions 3 below. Dimensions 3 is permeability, and the 3D grid has several populated permeability properties to chose between. Chose the permeability property for analysis using the drop-down. Open the well logs data entry and check log entries for the variables. Hit OK and the investigation is ready
Create using the spatial selector
The investigation can be built using the spatial selector. The spatial selector is a probe, that can be used to limit the region of interest on the data set to be analyzed, more information here. Using a spatial selector to build the investigation is recommended when building seismic investigations to limit the number of points in the investigation

Display an in-line, cross-line or time slice from the seismic attributes (from the same survey) for analysis in a 3D window. RMB on one of the 3D cubes and select “Insert new Blueback seismic spatial selection” A spatial selection probe, that covers the entire survey is inserted. A spatial selector object is inserted in the spatial selections folder in the input pane

Activate the “select” cursor from the 3D window tool menu, and the spatial selector will now have green widgets. Drag the widgets lateral and vertical to crop the spatial selector to a small ROI. For huge 3D seismic surveys, it is important to start out with a very small RIO to make sure, that Petrel does crash due to too many points in the investigation. The ROI (spatial selector can be expanded stepwise later)

Build the Investigation – using the spatial selector
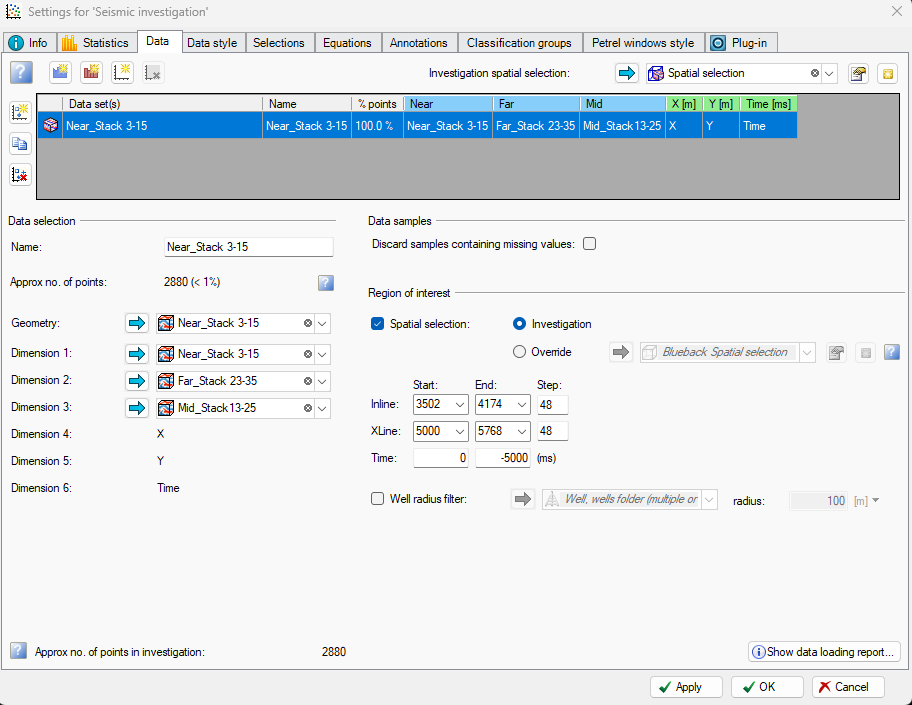
RMB on the spatial selection object in the input pane and select “Create Blueback Investigation” Give it a name when prompted and hit OK. The investigation object is saved in the Investigation folder and the investigation panel opens. The three seismic attributes are added as well as spatial dimensions. Hit OK and the investigation is ready. The in-line, cross-line decimation can be reduced gradually. The data analysis is limited to the data inside the spatial selector